




Brown Planthopper Control Strategies Based on Paddy Growth Stages
Share:
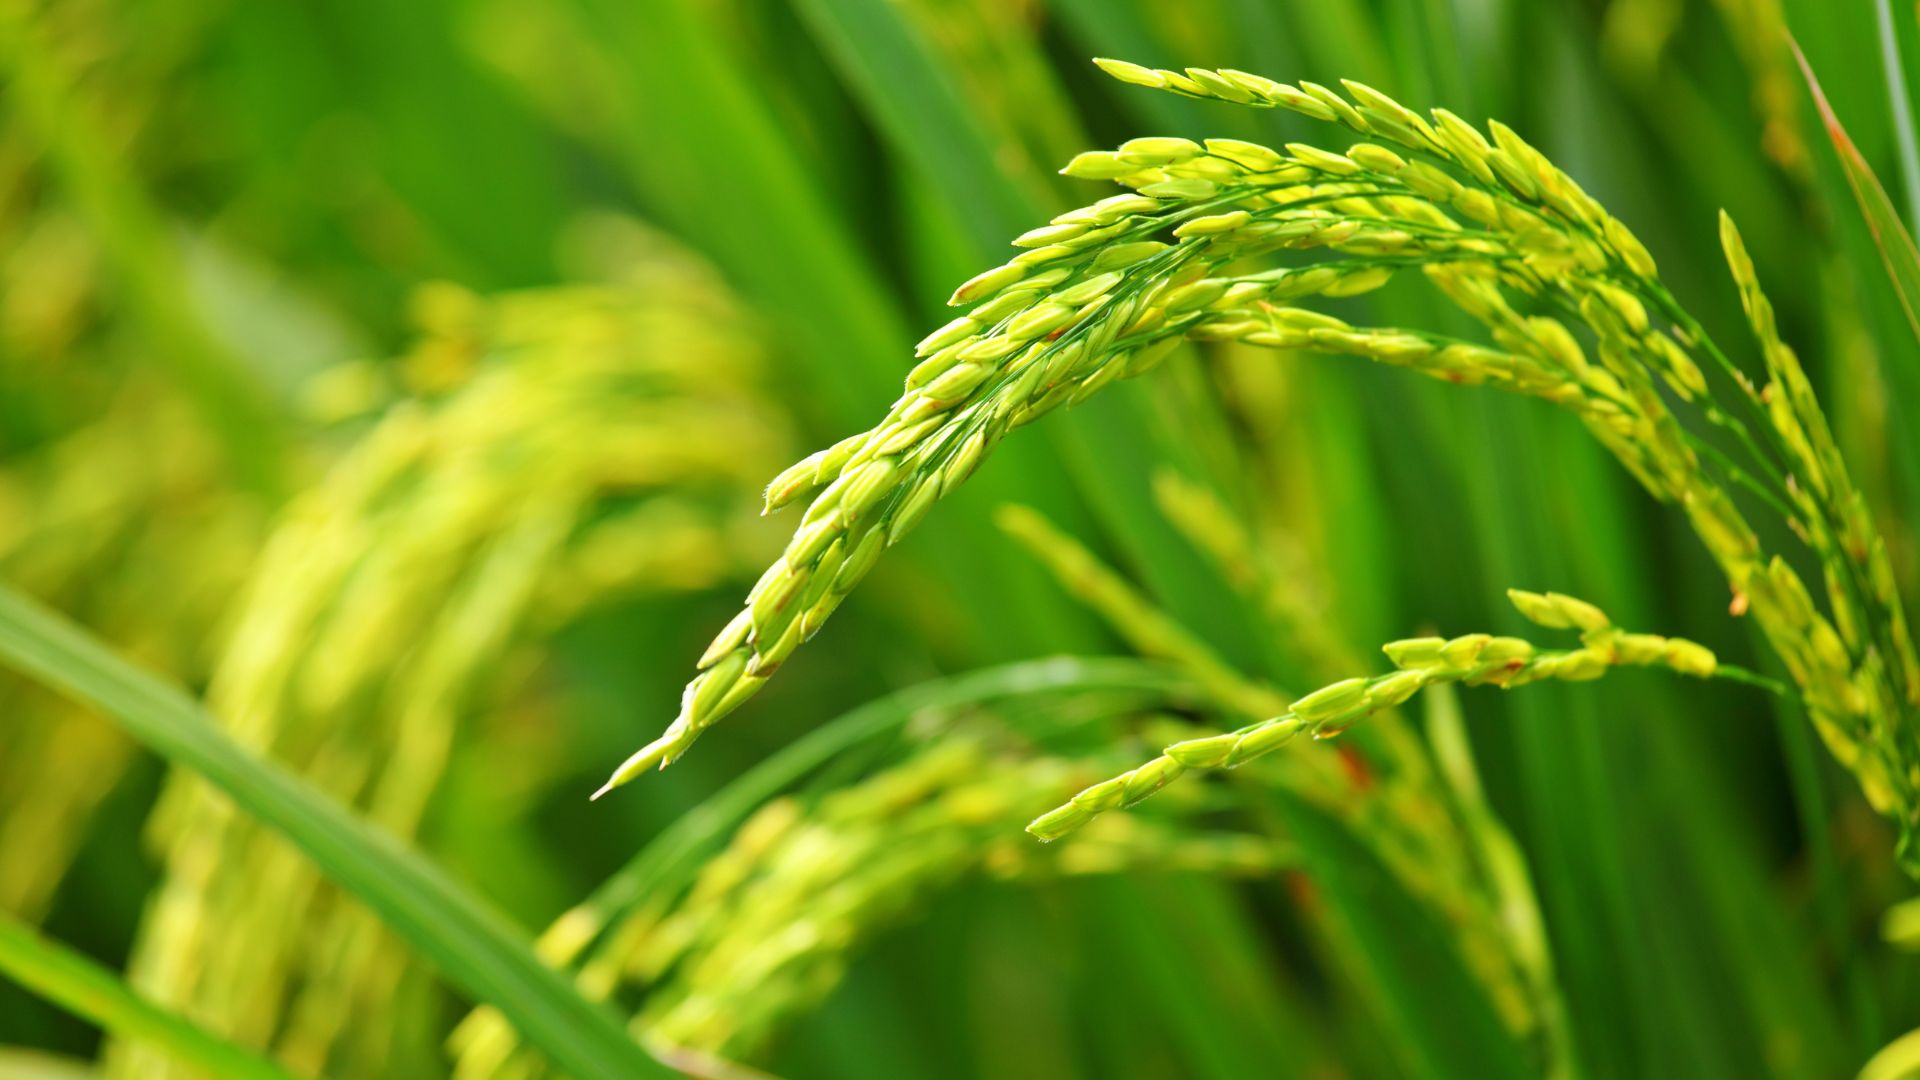
Did you know, SGI friends, that the brown planthopper (Nilaparvata lugens) on paddy stalks causes severe losses for farmers? Planthoppers are among the most common pests found in paddy crops. They are a type of flying true bug that feeds by sucking plant sap. They are categorized into three main types: green leafhoppers, brown planthoppers, and white-backed planthoppers. Planthoppers are extremely destructive to paddy plants. They typically move in large swarms and can migrate by flying up to 100 kilometers. Their reproduction rate is exceptionally fast, allowing them to infest an area in a short period.
A green-looking paddy field does not necessarily mean it is safe from threats. Brown planthoppers gather mainly around the lower parts of the plants near the base of the stems, which is why infestations are often detected too late. By the time paddy clusters begin to turn yellow, dry up, and form scattered patches across the field, the planthopper population is usually already quite high. Therefore, controlling brown planthoppers on paddy stalks must begin with routine monitoring rather than waiting for visible damage to occur.
If left unmanaged, planthoppers can devastate paddy crops and cause complete crop failure. In severe cases, high-density infestations can reduce yield by up to 80 percent, making immediate action essential. Paddy plays a vital role in supplying paddy as Indonesia's primary staple food. However, throughout the cultivation process, farmers frequently face major challenges from brown planthopper attacks. Controlling this pest is a critical step in maintaining optimal paddy production.
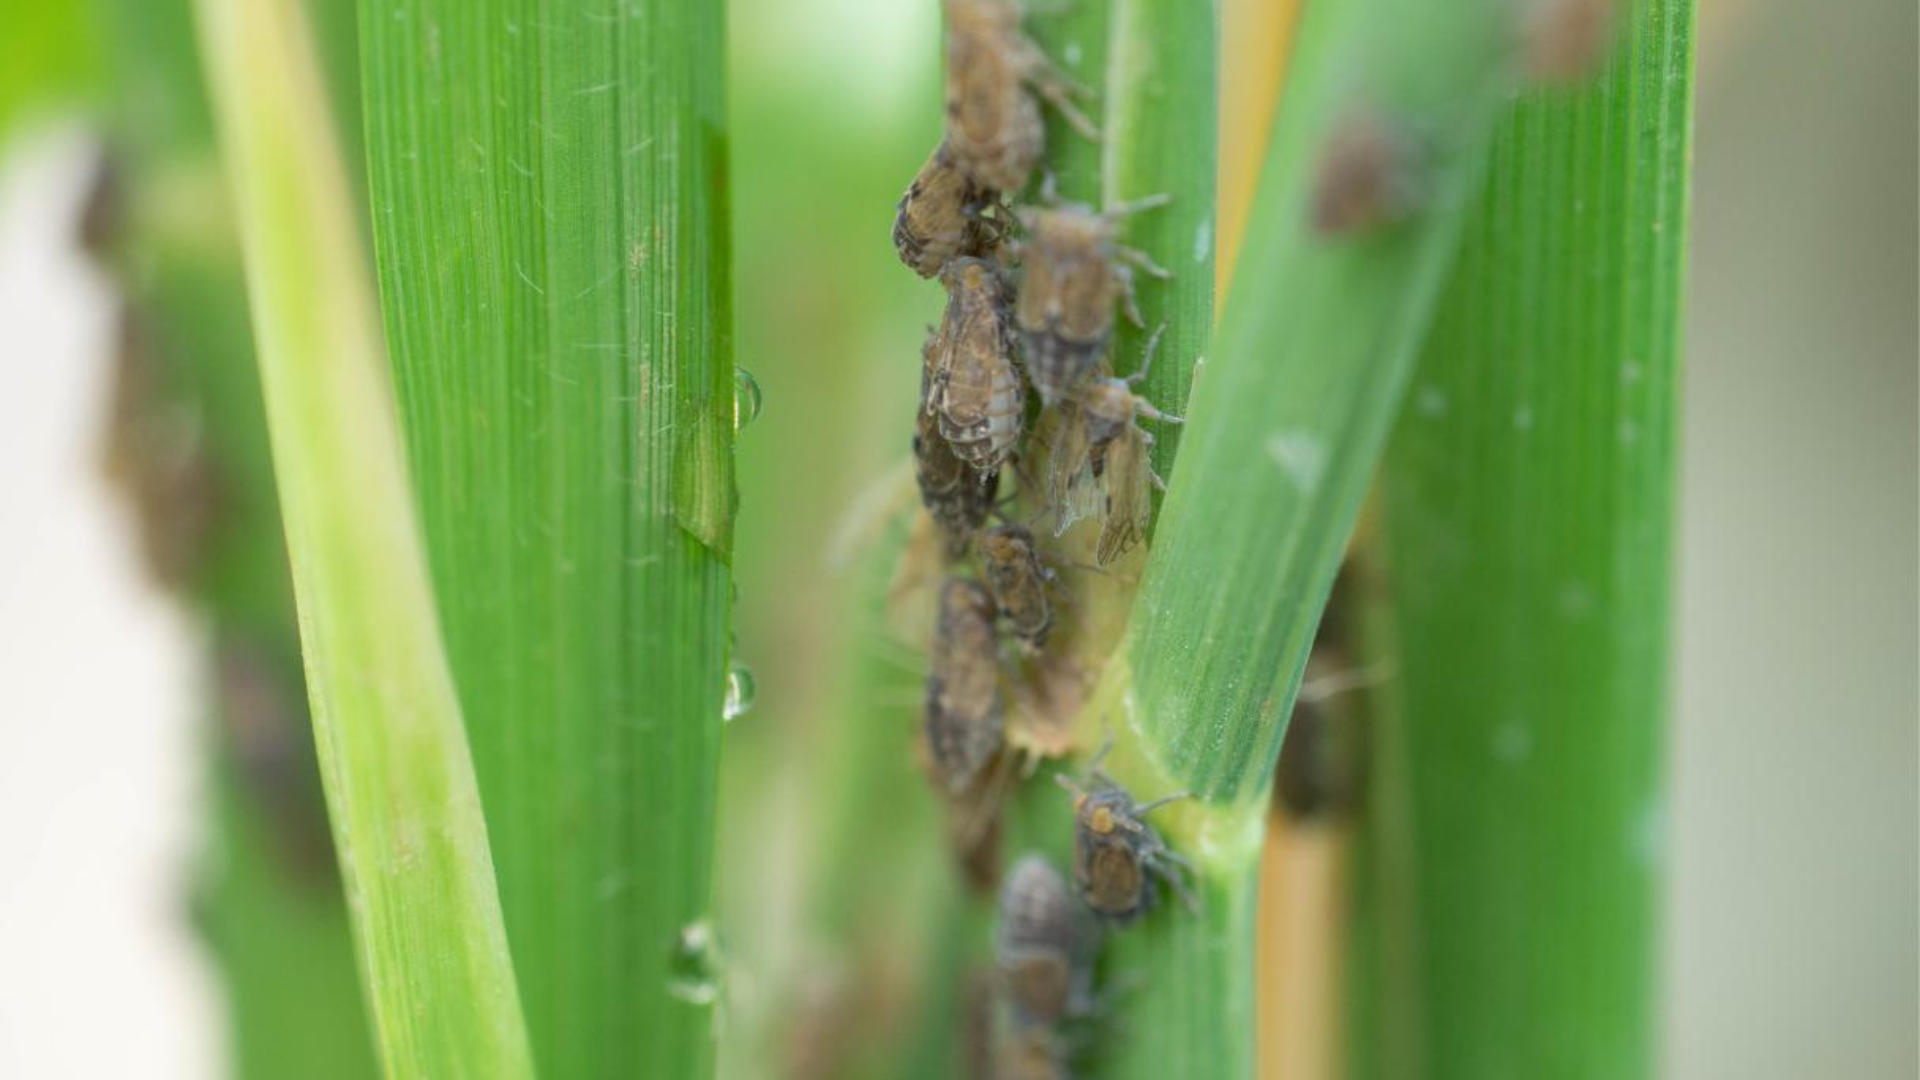
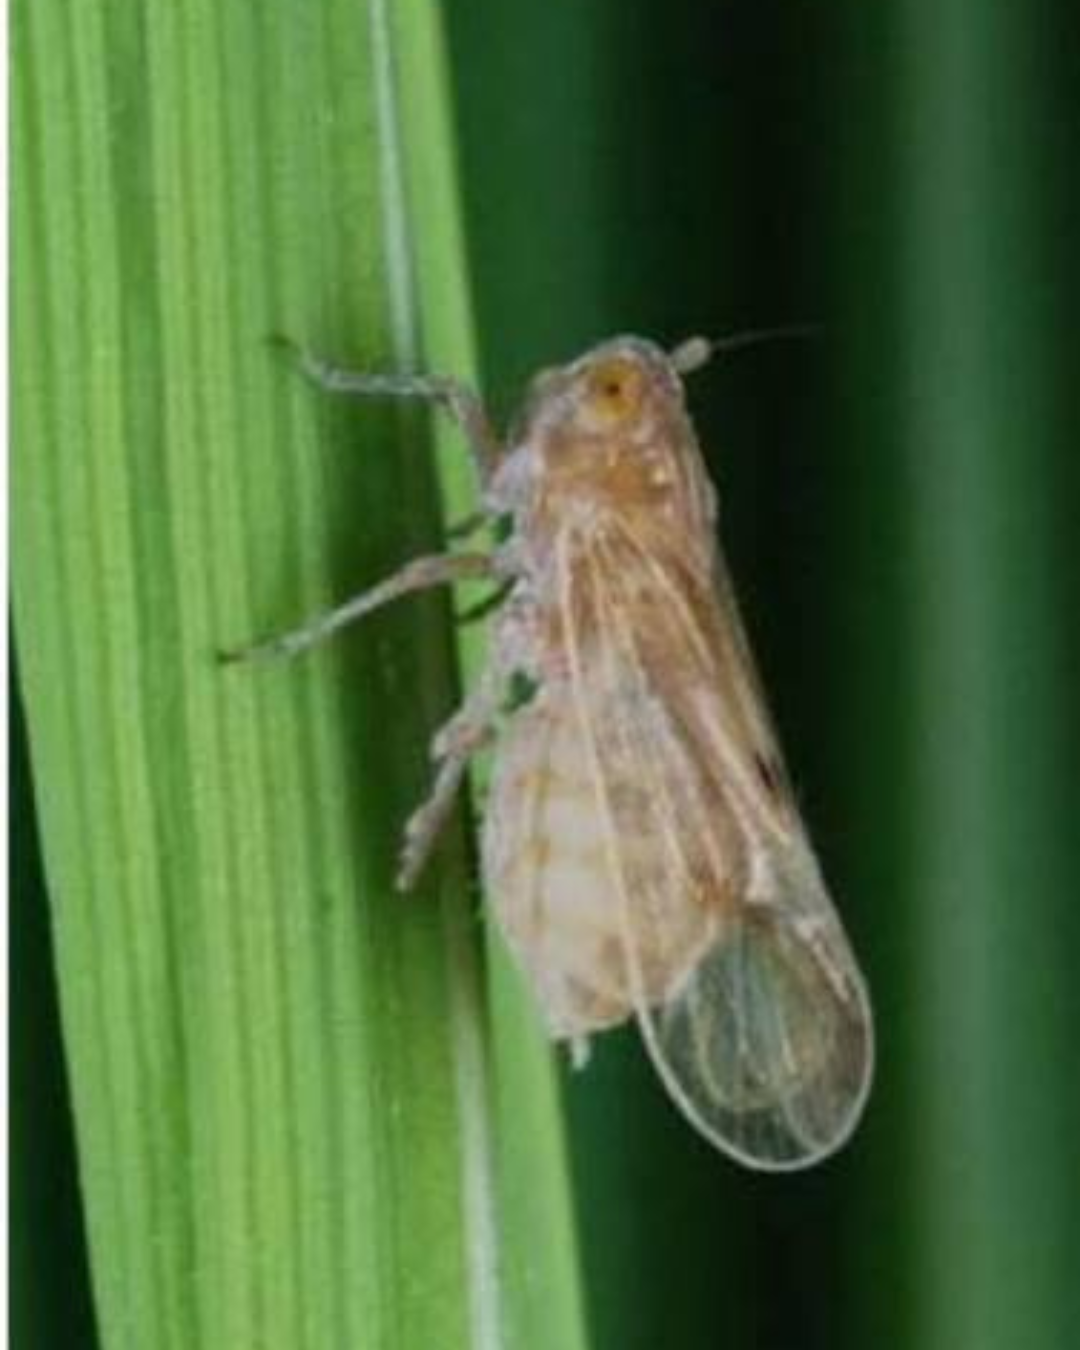
The brown planthopper (Nilaparvata lugens) is one of the most destructive and difficult-to-control pests in paddy farming. This tiny insect has a brown body with spots where its wings meet and resides near the base of paddy stalks. Its life cycle lasts between 3 to 4 weeks. During the nymph and adult stages, the brown planthopper sucks sap from the paddy stalks, disrupting plant development and even causing complete crop destruction. The primary challenge in eradicating the brown planthopper lies in its ability to reproduce rapidly and adapt to environmental changes. Affected paddy plants typically turn yellow, signaling growth stunting that results in dwarfed plants and empty panicles. In severe infestations, the entire crop can turn brown, dry out (hopperburn), and eventually die. A brown planthopper attack can lead to significant yield losses of up to 70%.
SGI friends need to understand one crucial point: the brown planthopper is not just a small insect that feeds on plants. This pest thrives rapidly under favorable conditions, impairs paddy growth, and acts as a vector for specific viral diseases. Relying solely on spraying chemical pesticides without assessing actual field conditions risks being ineffective and can harm natural predators.
Attack Stages of the Brown Planthopper on Paddy Plants
The brown planthopper (Nilaparvata lugens) is a major pest in paddy cultivation. Equipped with piercing-sucking mouthparts, it extracts sap from plant tissues, primarily at the base of the tiller cluster. As population density grows, plants suffer severe fluid loss and lose their ability to develop normally.
Managing brown planthoppers cannot wait until severe symptoms appear. Effective control begins with early observation during the seedbed stage, continuing after transplanting through the tillering, booting, and panicle initiation stages.
The Ministry of Agriculture notes that brown planthoppers damage paddy both directly, by sucking plant sap, and indirectly, by transmitting ragged stunt and grassy stunt viruses. Vulnerable growth stages stretch from the nursery phase all the way to the milk grain stage. Consequently, continuous monitoring and management are required throughout almost the entire rice-growing season.
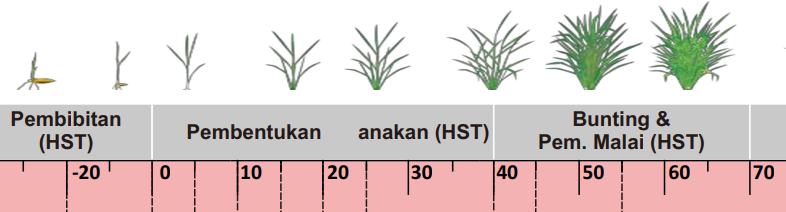
Monitoring and Application Periods (Ranging from -20 to 70 DAT) The monitoring and application timeline is illustrated from -20 to 70 DAT (Days After Transplanting). The number -20 does not imply a negative plant age. In this diagram, 0 DAT marks the point of transplanting; therefore, -20 to 0 represents the nursery or seedbed period, occurring approximately 20 days before the seedlings are moved to the main field.
Nursery Phase: Approximately 20 Days Before Transplanting (-20 to 0 DAT)
1. The first stage begins while seedlings are still in the seedbed.
During this phase, young paddy seedlings must be monitored regularly because winged adult planthoppers can migrate from neighboring fields into the seedbed.
SGI friends can take the following actions:
Inspect seedlings routinely, especially near the base of the plants.
Keep the nursery clean of crop residue or vegetation that could host planthoppers and diseases.
Avoid transplanting seedlings that show signs of severe infestation.
Start recording the presence of planthoppers if any are found in the seedbed.
The goal is simple: prevent planthoppers from being carried into the main field when seedlings are transplanted.
Post-Transplanting Phase 0 to 20 DAT
2. After seedlings are transplanted to the field, plants enter an adaptation phase and begin tillering. During this period, planthoppers in the vicinity can settle around the base of the plants. Nymphs and adults feed on plant sap, which can disrupt growth if population levels rise.
SGI friends should not inspect only the upper canopy. Gently open the tillers to examine the lower stems, as planthoppers gather primarily near the plant base. Monitoring at this stage is crucial because low populations are far easier to manage before they spread across an entire field.
Active Tillering Phase 20 to 40 DAT
3. Around 20 to 40 DAT, paddy plants undergo active tillering. Under favorable conditions, planthopper populations can multiply rapidly. The Brown Planthopper Control Handbook notes that planthoppers possess a high reproductive capacity, allowing their numbers to surge in a relatively short timeframe. Consequently, this phase is critical for increasing monitoring intensity.
Pay close attention to:
The number of planthoppers per hill
The presence of both nymphs and adults
Changes in leaf color
The condition of the stem bases
The presence of natural enemies, such as spiders and predatory insects
Late Tillering Phase 40 to 50 DAT
4. From 40 DAT onward, plants begin transitioning into the reproductive stage. Monitoring must continue because uncontrolled populations from earlier stages can keep expanding.
During this period, SGI friends should check for patches of plants that turn yellow or appear weaker than surrounding crops. Do not wait for hopperburn to appear. Once plants show scorch-like symptoms in a specific area and damage spreads, the planthopper population has usually reached severe levels.
Booting and Panicle Initiation Stage: 50 to 70 DAT
5. Between 50 and 70 DAT, plants enter the booting and panicle initiation phase. At this stage, plants prepare yield components, making health maintenance vital. Planthoppers remaining at the base of the stems can still draw sap and weaken plant condition if population density is high.
Therefore, field checks must not stop simply because plants have entered the reproductive phase. For SGI's Chevro 50 WG, the specified observation and application range extends from the nursery stage up to approximately 70 DAT. However, SGI friends should remember that these numbers represent the product application window, not the definitive end of planthopper activity. Biologically, brown planthoppers can attack paddy crops across a broader range of growth stages.
Identify the Brown Planthopper on Paddy Stalks
Planthoppers Gather at the Base of the Hill
A common mistake is inspecting crops only from the top down. In reality, adult brown planthoppers and nymphs gather near the base of the tillers. During monitoring, SGI friends should gently open the tillers, examine the lower sheaths, and check for small, whitish-brown to brown insects moving around the stems.
Infestation Begins with Sap Extraction
Planthoppers suck sap from plant tissues, causing paddy crops to gradually lose vigor. Leaves can turn yellow, plants appear weak, growth becomes stunted, and high-density populations cause tiller clusters to dry out completely. Damage frequently starts from a single patch and spreads outward to surrounding hills. This symptom must be distinguished from ordinary drought stress, nutrient deficiency, or other physiological issues.
Planthoppers Also Transmit Diseases
The impact of planthoppers extends beyond direct physical damage; brown planthoppers serve as vectors for viruses that cause paddy grassy stunt and ragged stunt diseases. Infected crops exhibit stunted growth, abnormal tiller leaves, or impaired panicle development. Therefore, proper management requires accurate identification so control measures hit the right target.
Stage | Indicators to Check | Initial Action |
Early | Planthoppers or nymphs appear at the base of the hill; crops show no severe damage. | Record population numbers, check multiple field sampling points, and assess the presence of natural enemies. |
Developing | Leaves begin yellowing, plants appear weak, and several hills show stunted growth. | Increase monitoring frequency; evaluate fertilizer use, water levels, variety traits, and targeted control actions. |
Severe | Clusters turn yellow then brown and dry out (hopperburn) across patches of the field. | Apply control measures based on field conditions and technical recommendations; assess whether the damage is irreparable. |
Associated Diseases | Crops are dwarfed, tillers show abnormal growth, and leaves display altered shapes or colors. | Investigate potential grassy stunt or ragged stunt viral infections, and manage the planthopper population acting as the vector. |
Brown Planthopper Control Strategies
Conduct regular inspections starting from the base of the plant
SGI friends can begin with routine field monitoring as the essential first step. Avoid evaluating crop health merely by viewing leaf color from a distance. Gently open several tiller clusters at different spots across the field, then inspect the lower stem bases and leaf sheaths. Keep records of crop condition and population trends over time.
Use suitable varieties and practice crop variety rotation
Selecting paddy varieties should align with local regional recommendations. Varieties with appropriate resistance traits help mitigate damage risks caused by planthoppers. Agricultural research indicates that brown planthoppers can adapt and develop more virulent biotypes. Therefore, variety selection and rotation must follow regional guidelines and the latest updates from local agricultural officers.
Implement synchronized planting
Synchronized planting reduces variations in crop age across a farming area. This practice also makes monitoring and collective pest control efforts much easier to coordinate.
Apply balanced fertilization
Avoid applying excessive nitrogen simply to achieve a deep green canopy. Fertilizer application must be tailored to plant needs, soil conditions, variety characteristics, and recommended agronomic practices.
Preserve natural enemies
Paddy ecosystems have built-in natural control agents. According to IRRI, natural enemies of the brown planthopper include spiders, predatory bugs, aquatic insects, and egg parasitoids. When natural enemy populations are sufficient, the risk of planthopper numbers exploding into severe infestations is reduced. Consequently, insecticide use should be selective and need-based to avoid disrupting this ecological balance.
Apply insecticides judiciously when necessary
If monitoring data shows rising planthopper populations that warrant chemical control, use insecticides specifically registered for this target pest. Applications must strictly follow the dosage, timing, method, and instructions on the product label. Because planthoppers gather primarily near the base of tiller clusters, application techniques must ensure the spray reaches the pest's location.
Immediate Steps When Planthoppers Are First Detected
When planthoppers are discovered, SGI friends do not need to resort immediately to extreme measures. The first step is determining the extent of the infestation. Inspect tiller clusters around the initial discovery point, then extend checks to several other areas of the field. If planthoppers are confined to isolated spots, intensify monitoring while adjusting cultivation practices that favor pest development. If populations increase and symptoms spread, management decisions must be made more swiftly.
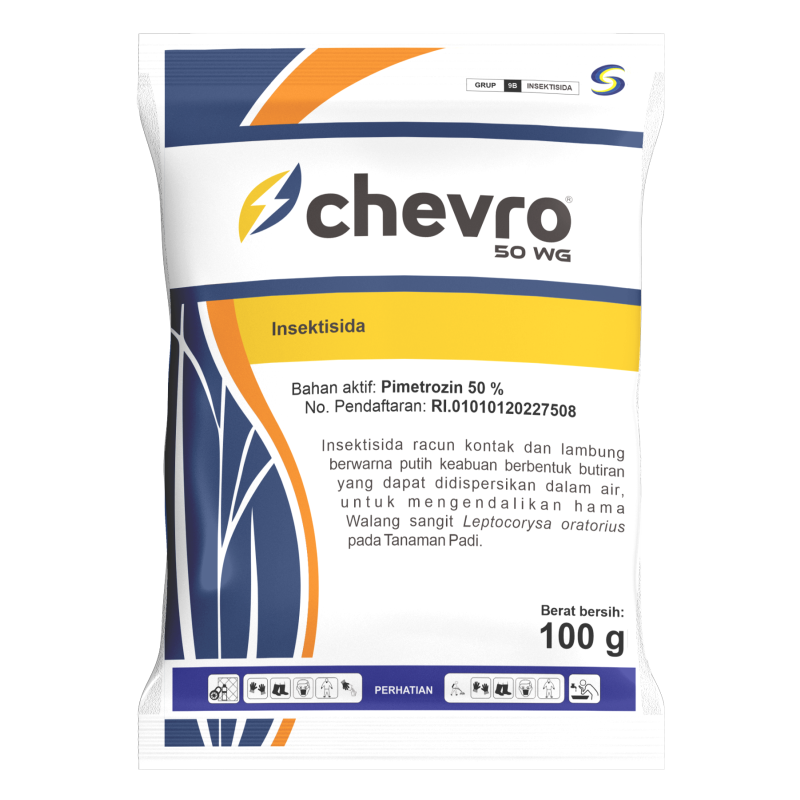
PT Sinar General Industries offers Chevro 50 WG designed specifically for paddy crops. Based on the packaging label information and SGI's official product page, Chevro 50 WG is an insecticide formulated to help control the brown planthopper (Nilaparvata lugens) and the paddy bug (Leptocorysa oratorius) in paddy fields.
Chevro 50 WG should not be applied simply because one or two insects are spotted without assessing overall field conditions. Its application must remain an integral part of an Integrated Pest Management (IPM) strategy. Always evaluate pest populations, crop growth stages, natural enemy presence, symptom severity, and label instructions before application. Application rates and frequency must strictly comply with product label directions and local regulations.
Key Advantages of Chevro 50 WG:
Prevents crop damage while providing long-lasting protection against brown planthoppers, leading to higher crop yields.
Delivers early-stage protection for paddy plants. The formulation penetrates plant tissues easily and remains effective even under heavy rainfall conditions.
Promotes greener, healthier plants to maximize harvest potential.
Optimal Application Timing for Chevro 50 WG:
Chevro 50 WG relies on monitoring that begins during the nursery stage and continues up to approximately 70 DAT (Days After Transplanting). This means vigilance against pest attacks must be maintained from the seedbed phase, post-transplanting, and active tillering, through to the booting and panicle initiation stages.
Apply the product when pest populations reach economic threshold levels or in accordance with local agricultural guidelines.
Monitor first, evaluate pest control needs, and then carry out precise application.
The recommended dosage of Chevro 50 WG for SGI friends is 300 grams per hectare. However, the exact dosage must always be adjusted based on the target pest as specified on the product label and governing use instructions.
Directions for Use:
Ensure spray equipment is clean and operating properly. Disperse Chevro 50 WG in water according to label instructions, then stir until fully mixed. Spray evenly over the crop canopy, paying extra attention to areas where planthoppers gather, particularly the lower stems and bases of tiller clusters.
The best daily spraying windows are in the morning after the morning dew has dried (around 8:00 AM until late morning) or during the late afternoon.
Common Mistakes That Cause Ineffective Planthopper Control
Spraying After Severe Crop Drying Has Spread
By the time many tiller clusters have dried out, a significant portion of yield potential is already lost. Pest control should begin with population monitoring before severe damage develops. Waiting until the field shows hopperburn symptoms means taking action too late.
Directing Sprays Only at the Upper Leaf Canopy
Planthoppers gather mostly near the base of tiller clusters. Spraying that only wets upper leaves risks missing the intended target. Application techniques must ensure the solution reaches where pests are active, while strictly following product label directions.
Applying Excessive Nitrogen Fertilizer
Overusing nitrogen creates overly dense crop foliage, generating a microclimate that accelerates planthopper development. Balanced fertilization is far more crucial than simply chasing deep green foliage.
Mixing Multiple Products Without Technical Basis
Combining multiple pesticides does not automatically increase control efficacy. Unplanned tank mixes can cause compatibility issues, inflate input costs, and complicate performance evaluation. Only mix products if permitted by label instructions or supported by verifiable technical recommendations.
Ignoring Natural Enemies
Predators and parasitoids form an integral part of field pest management. Treating every insect as a pest and applying unselective sprays disrupts the natural ecological balance. Identify beneficial organisms before deciding on chemical control measures.
Practical Guide for Planthopper Monitoring by Crop Growth Stage
Paddy Growth Stage Fase | Monitoring Focus | Objective |
Nursery | Inspect seedling bases, monitor incoming planthoppers, and avoid unwarranted insecticide use. | Prevent early populations from developing before transplanting. |
Vegetative | Regularly inspect tiller bases, canopy condition, fertilization balance, and natural enemies. | Detect population increases before drying symptoms occur. |
Pembentukan malai | Continue checking tiller bases and yellowing field patches. Evaluate control needs based on population levels and plant health. | Protect yield potential heading into the grain-filling stage. |
Milk Stage | Maintain monitoring according to local risk levels. According to IRRI, planthopper monitoring generally does not need to continue beyond the milk stage. | Avoid unnecessary control interventions during late growth stages. |
Planthopper control on paddy stalks is most effective when executed before widespread damage occurs. The key lies in spotting planthoppers at the base of tiller clusters, conducting routine field checks, using adapted resistant varieties, practicing synchronized planting, maintaining balanced fertilization, protecting natural enemies, and applying insecticides judiciously when economic thresholds are met.
SGI friends do not need to wait for crops to dry out before taking action. The earlier population changes are detected, the more management options remain available.
Chevro 50 WG serves as a reliable insecticide choice for targeting brown planthoppers and paddy bugs in rice crops, provided it is applied according to label directions and integrated into an Integrated Pest Management (IPM) program.
PT Sinar General Industries remains continuously committed to empowering farmers by delivering high-quality agricultural solutions that support crop development and enhance farming productivity.
If SGI friends require further information regarding premium fertilizer and pesticide solutions tailored to various crop types, consult your agricultural needs with us. Visit https://pt-sgi.com/ to access complete product details, expert consultation services, and customized agricultural solutions for your farming business.
Related Articles
 Rice Plant
19 September 2026
Rice Plant
19 September 2026
 Rice Plant
26 August 2026
Rice Plant
26 August 2026
 Rice Plant
20 April 2026
Rice Plant
20 April 2026
Related Products
-


Fungicide
Hexacar 50/50 SC
Hexaconazole 50 g/l
Carbendazim 50 g/l
-
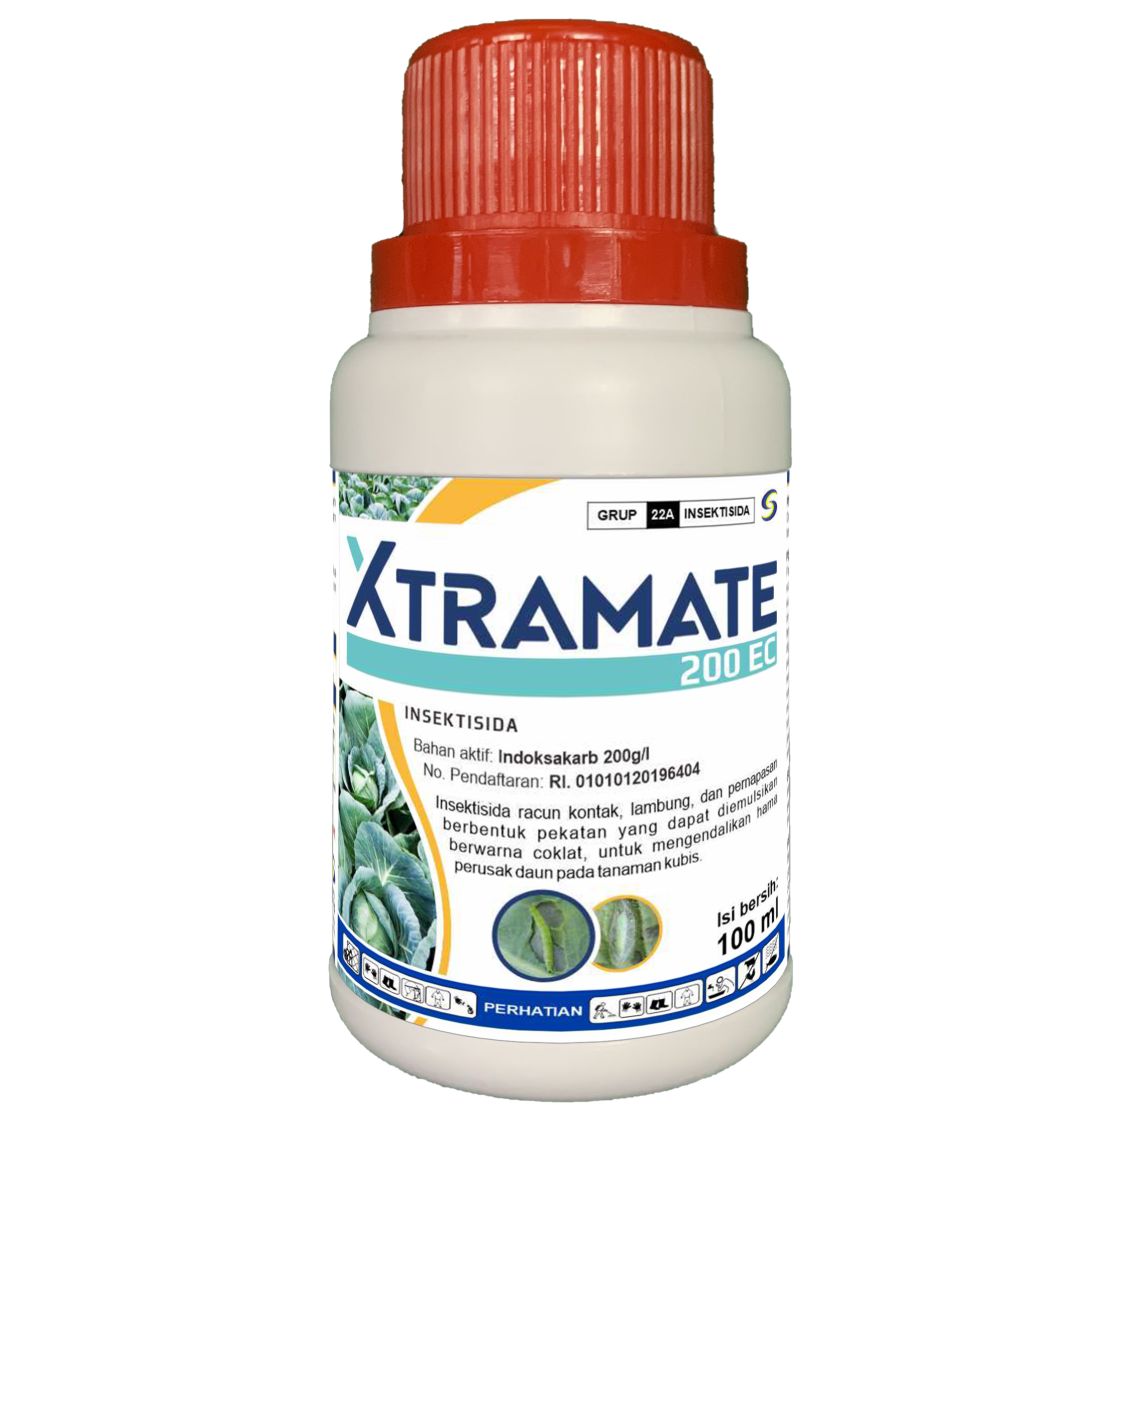

Insecticide
Xtramate 200 EC
Indoxacarb 200 g/l
-
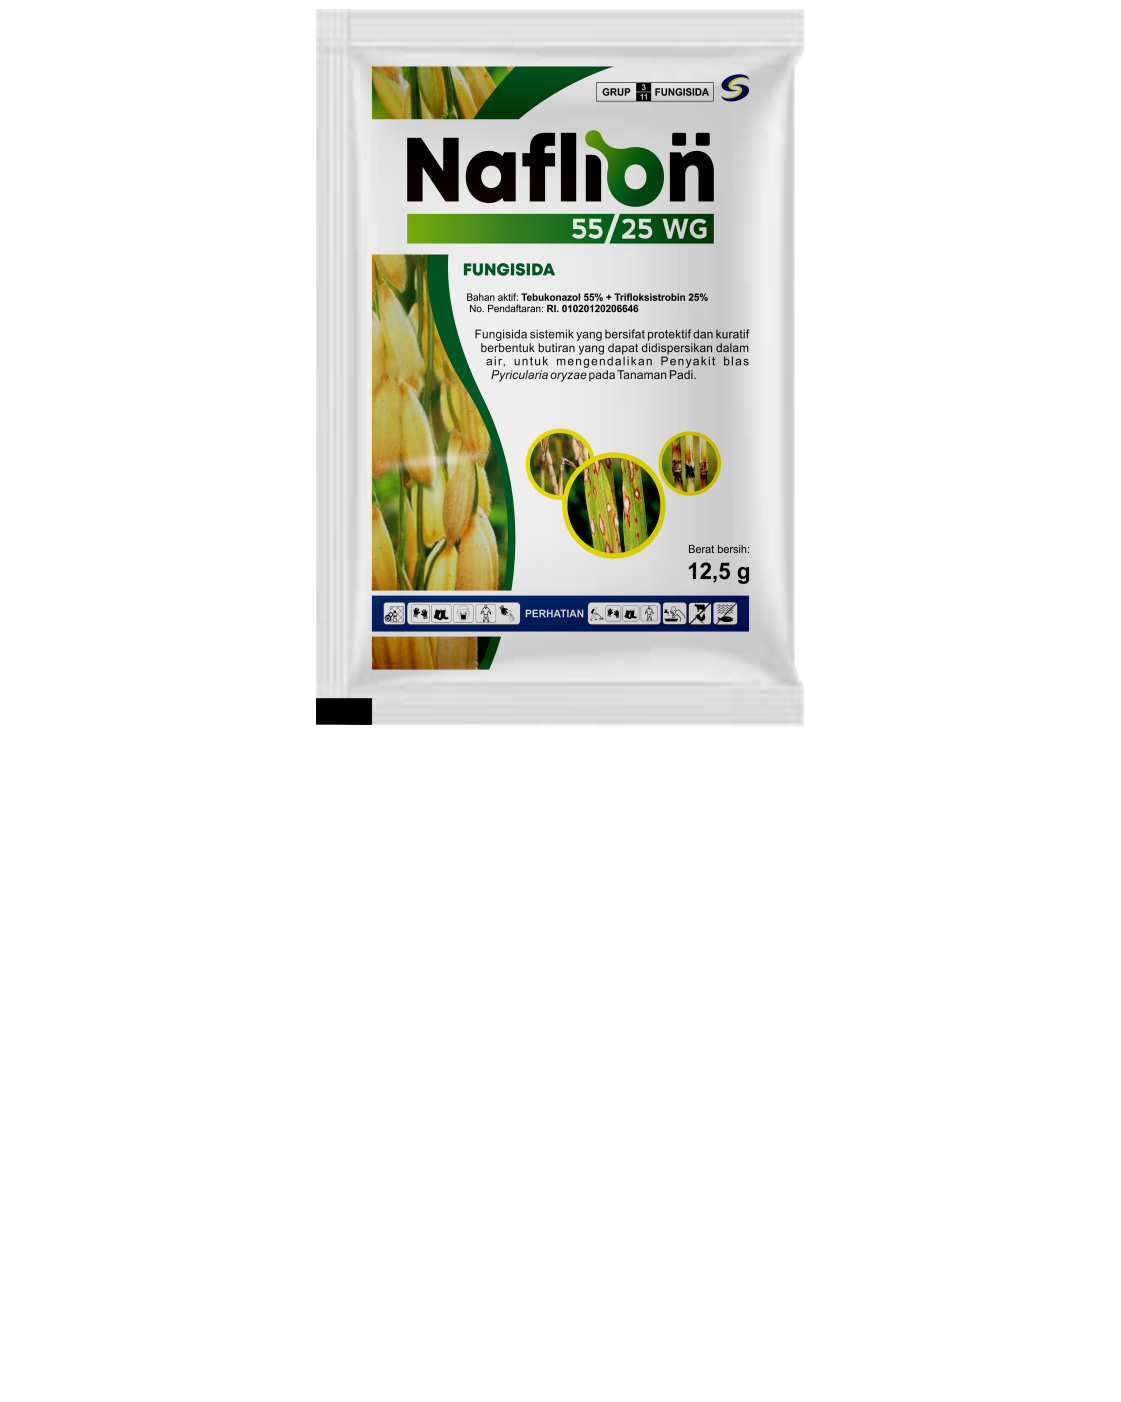

Fungicide
Naflion 55/25 WG
Tebuconazole 55%
Trifloxystrobin 25%
-
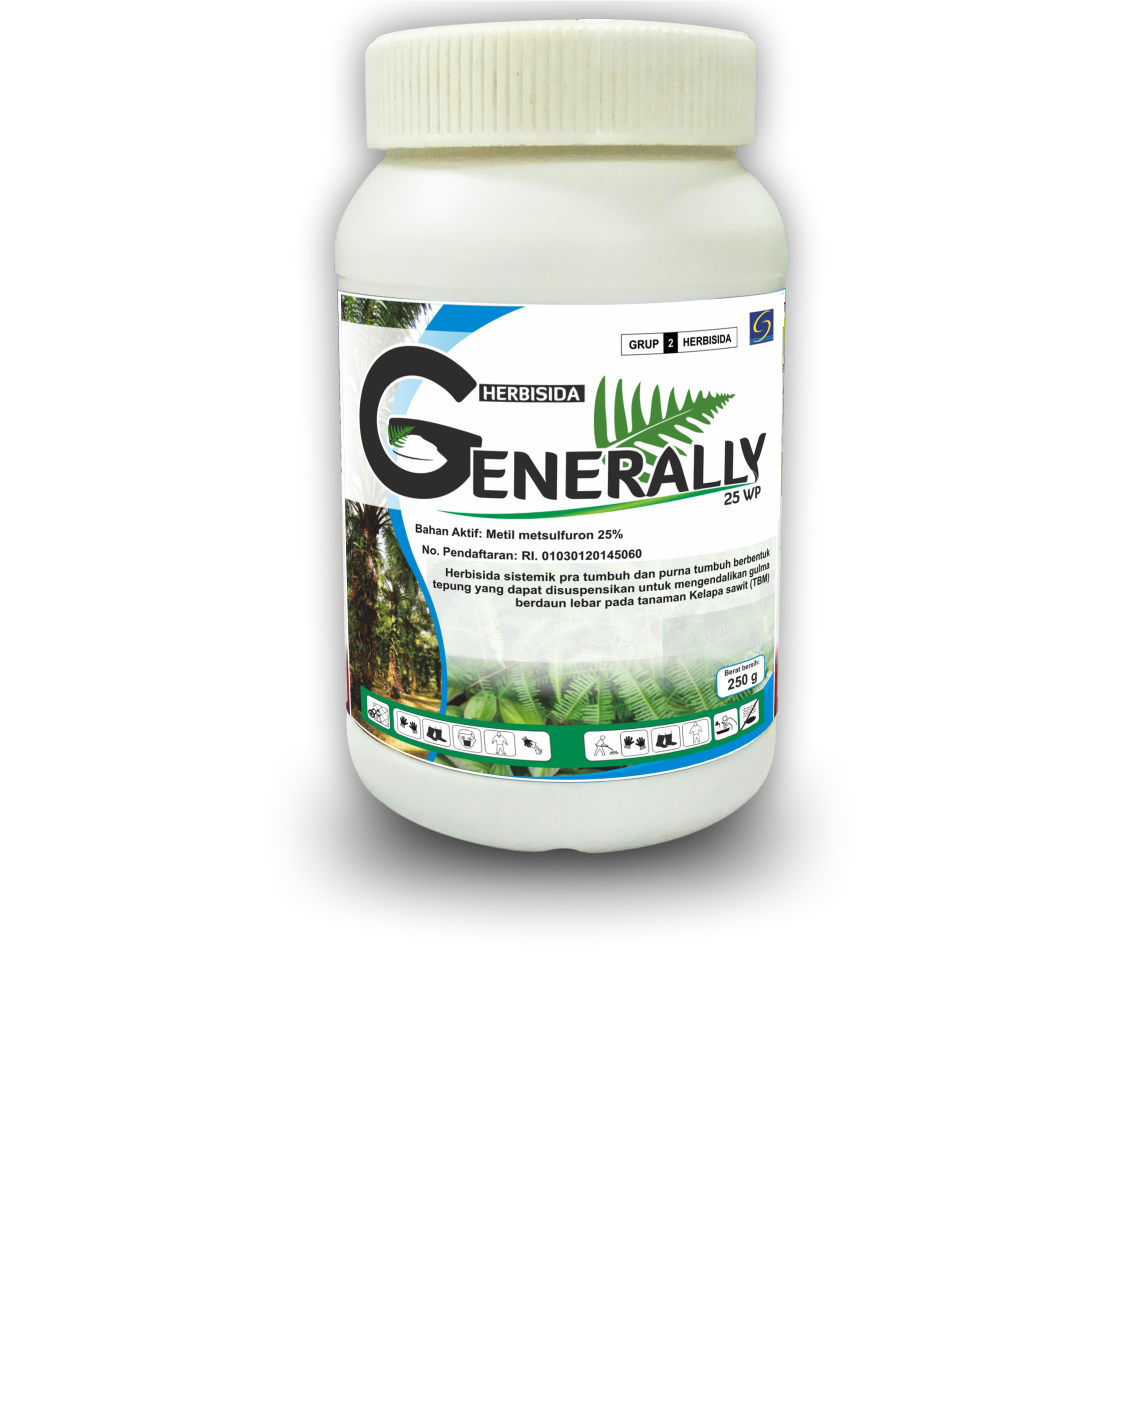

Herbicide
Generally 25 WP
Metsulfuron Methyl 25%
-
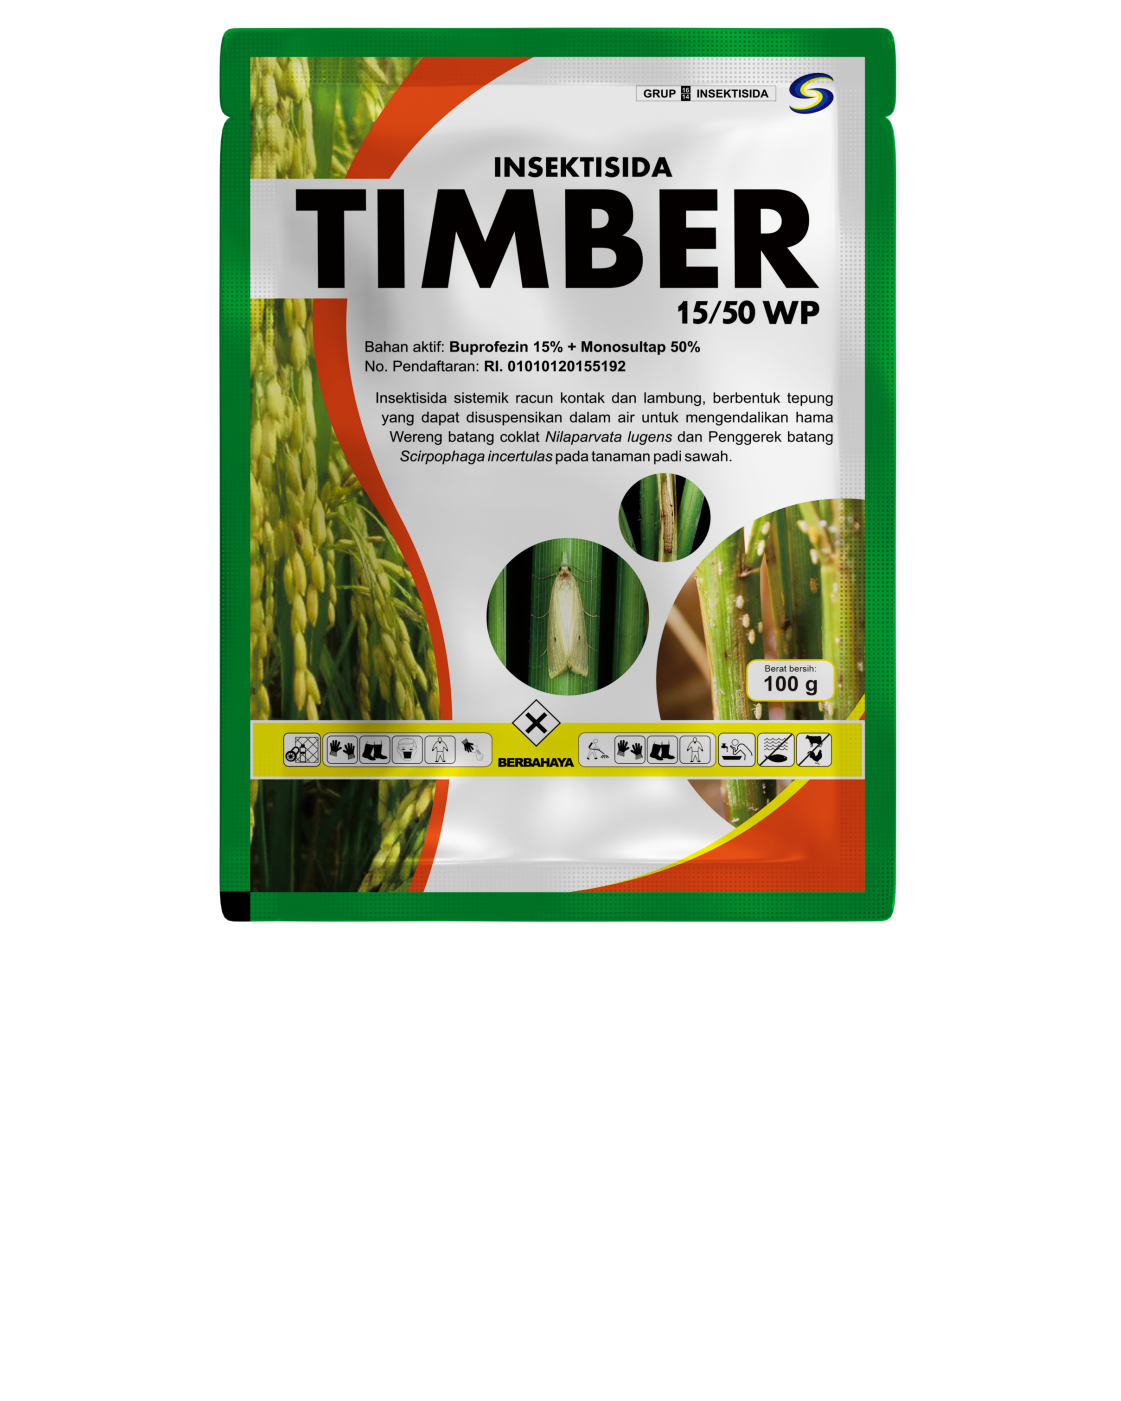

Insecticide
Timber 15/50 WP
Buprofezin 15%
-

Insecticide
Almix 141/106 SC
Thiamethoxam 141 g/l
Lambda Cyhalothrin 106 g/l